
How I Mix My Own Glazes — My Full Process From Recipes to Test Tiles
My Glaze Mixing Workflow
I timed myself recently. Six glaze recipes, measured from scratch, mixed, and applied to test tiles. Total time: 34 minutes and 50 seconds. That surprised even me — and I've been doing this for years. Mixing your own glazes sounds intimidating until you actually do it. Then it becomes one of the most satisfying parts of the whole ceramics process.
In this post I walk through exactly how I do it — equipment, process, safety, and the small decisions that make glaze mixing faster and cleaner.
Download Free Glaze Mixing PDF Checklist ↓
Why Mix Your Own Glazes at All?
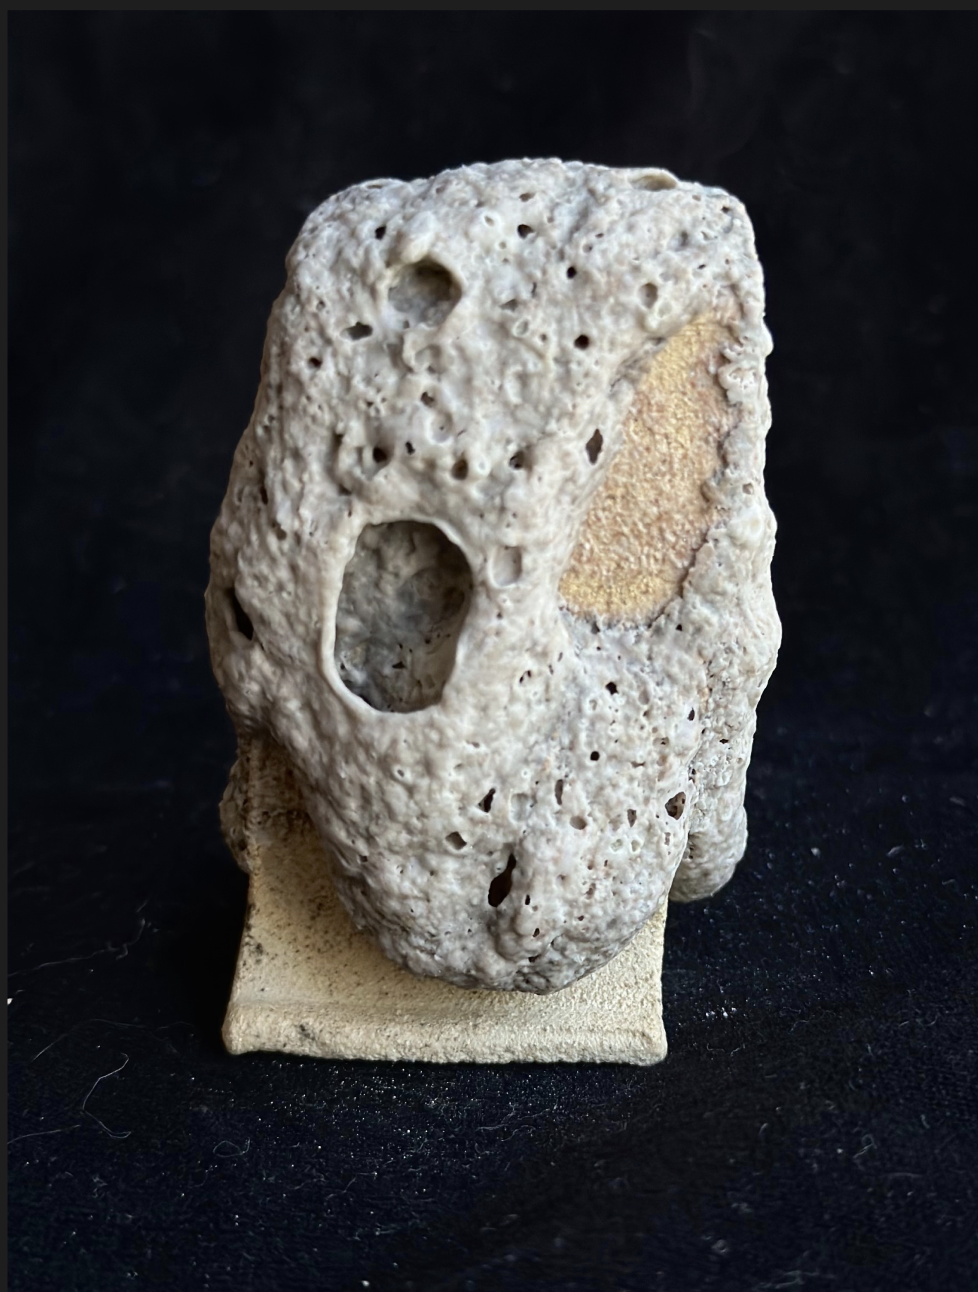
Commercial glazes are convenient. But when you mix your own, you control everything: the chemistry, the texture, the thickness, the variations. For special effect glazes like lava glazes, crater glazes, and crawl glazes, that control is everything — you can't get a lava glaze that looks like molten volcanic rock from a jar off the shelf.
There's also the testing side. When you mix from your own ceramic glaze recipes, you can run variations — change one variable at a time, test on both black and white clay bodies, and build a real record of what each recipe does. Over time, that record becomes one of the most valuable things in your studio.
My Setup for Mixing Glazes From Scratch
Nothing fancy. For a batch of six 50g test glazes, I use:
A small digital scale (accurate to 0.01g)
Six small mixing containers
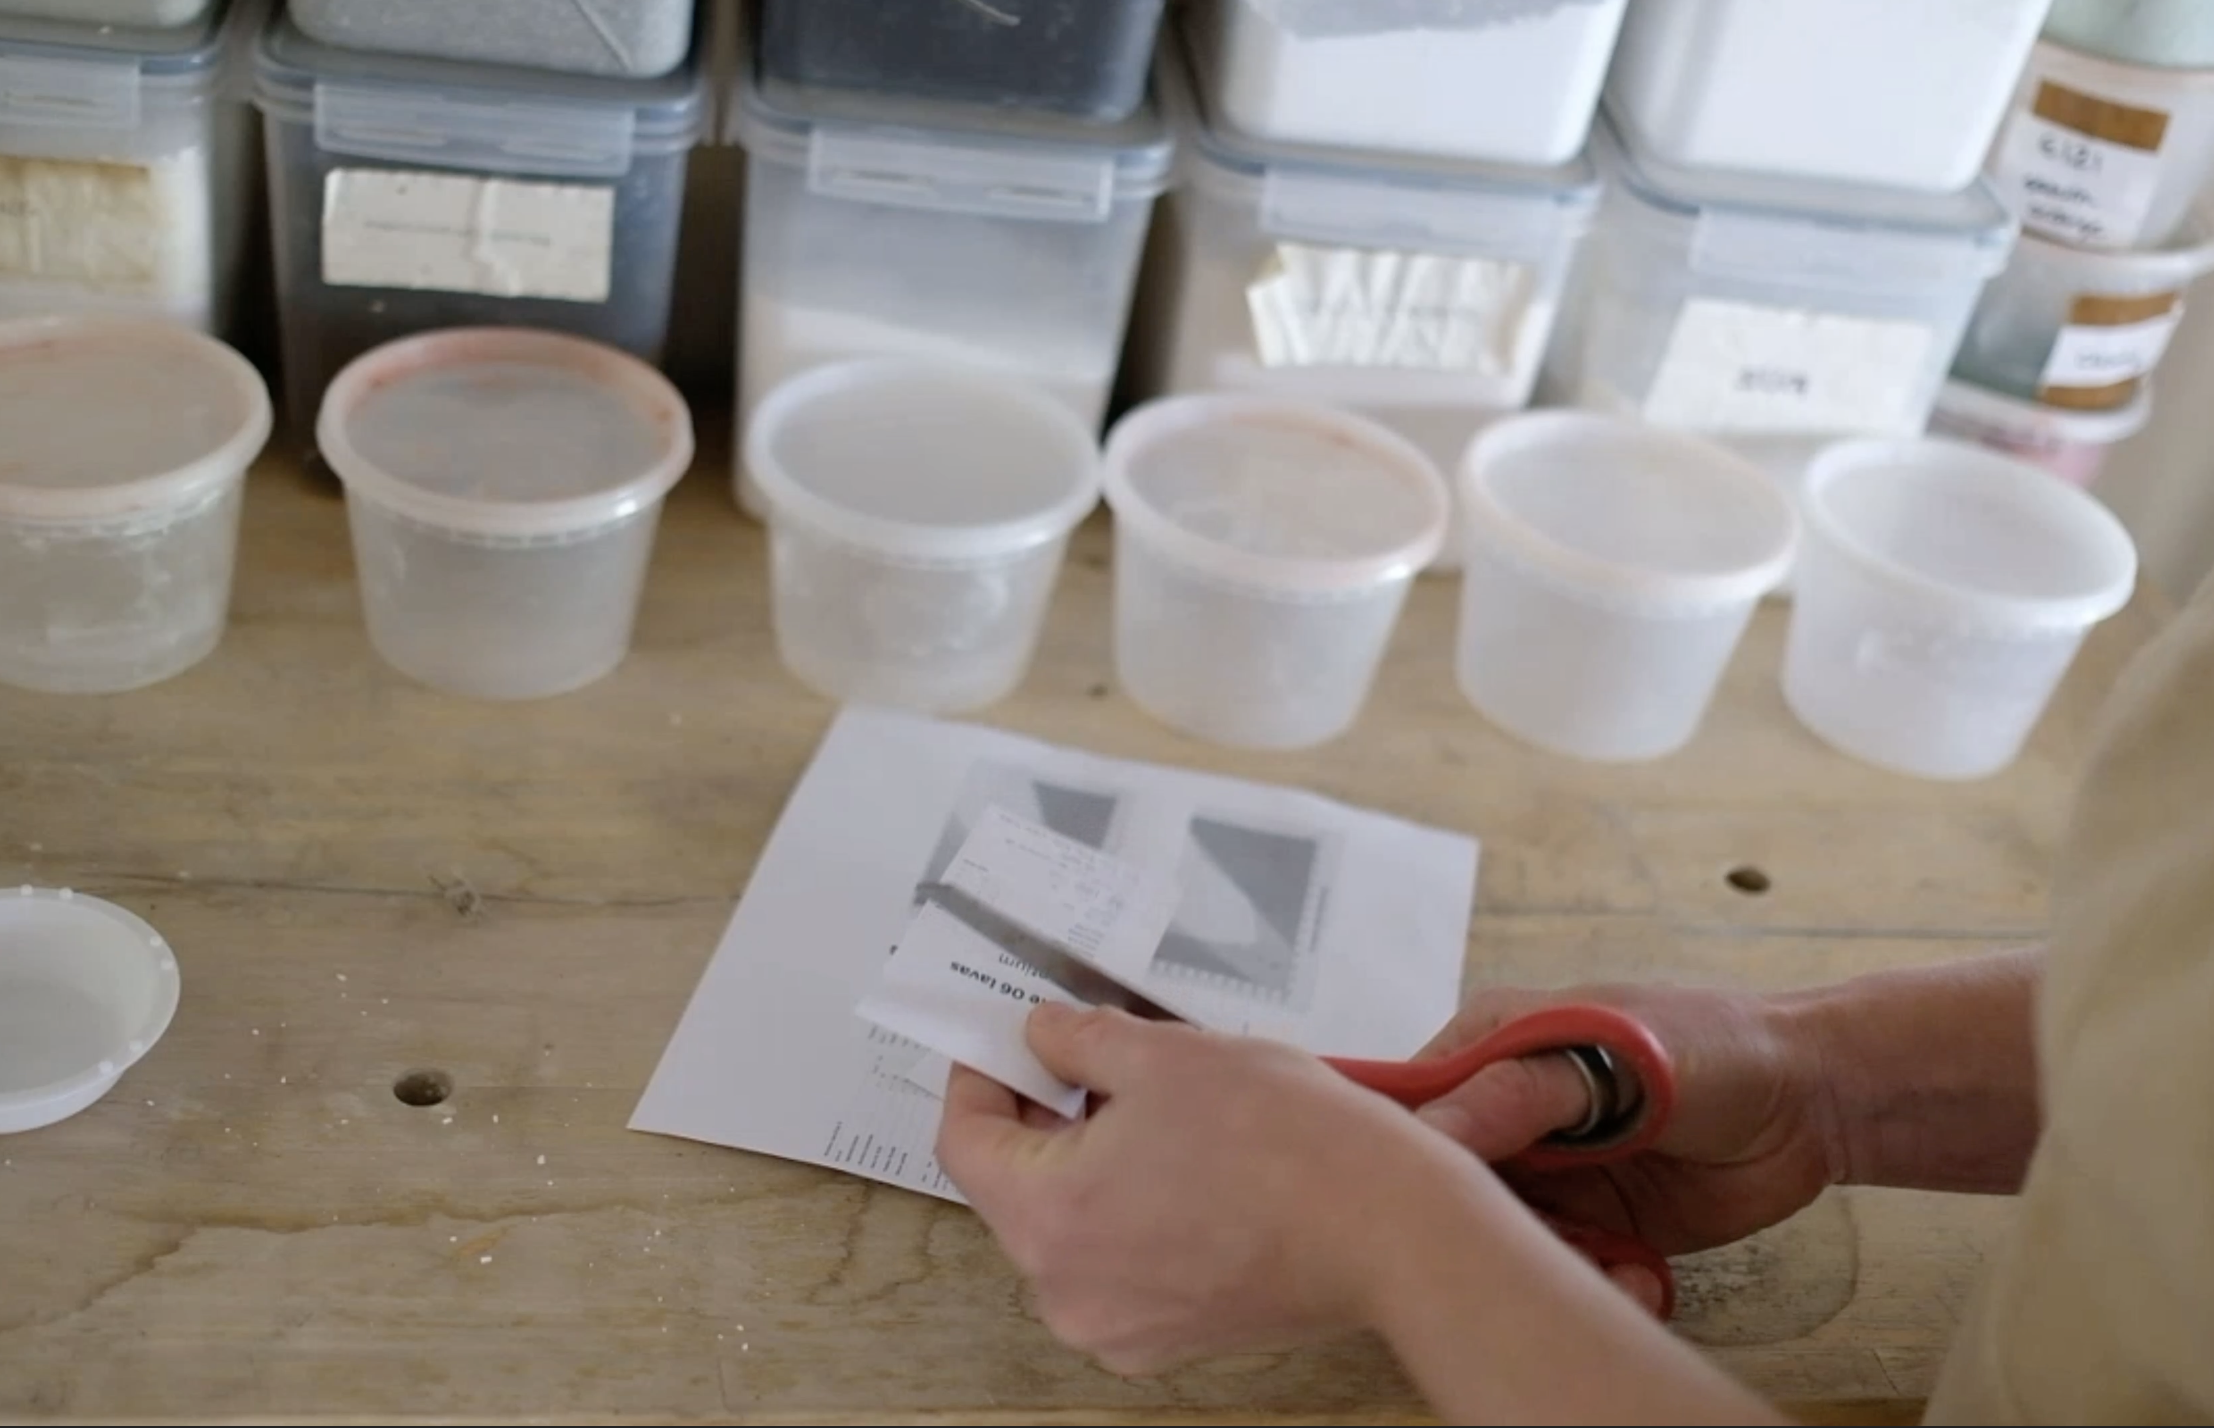
A printed copy of each recipe taped directly to its container
Test tiles pre-labelled with an underglaze pencil
A bucket of water for rinsing brushes between glazes
That's it. No immersion blender. No hydrometer. No sieving — at least not for lava glazes, where variability is actually your friend rather than something to eliminate.
How to Mix Glazes: Step by Step for Beginners
1. Print and attach your recipes. I print mine small and tape them directly to the container. Sounds basic, but it eliminates mistakes when you're measuring ingredient after ingredient.
2. Label your test tiles. I test on both black and white clay bodies, so each recipe gets two tiles. Use an underglaze pencil before bisque firing — white pencil on dark clay, dark on light.
3. Put on your mask before you open anything. Dry glaze materials are genuinely hazardous — silica dust is a serious respiratory risk. Respirator on, room ventilated, gloves if you have sensitive skin. Every time, no exceptions. Glaze safety isn't optional.
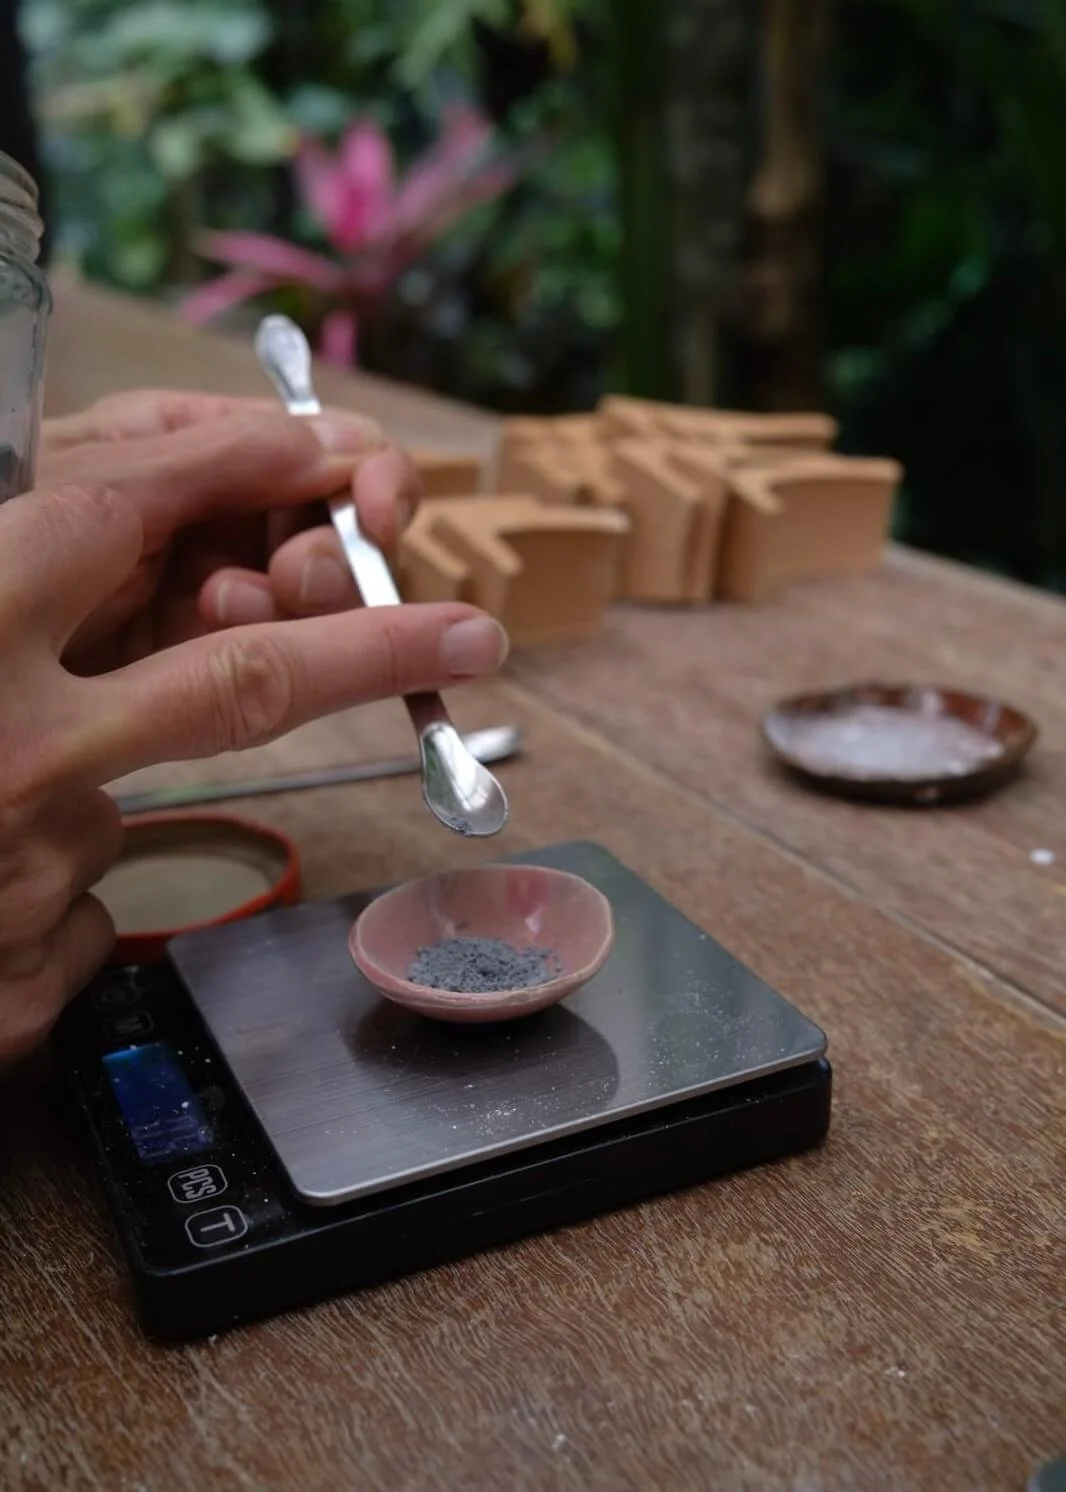
4. Weigh each ingredient separately, then combine. I measure every ingredient one at a time into each container, using the tare function between each addition. Then mix the dry ingredients together before adding any water.
5. Add water and mix until smooth. I add water gradually and mix thoroughly. For lava glazes and other special effect ceramic glazes, I don't sieve or measure specific gravity — the slight inconsistencies that come from a looser process actually contribute to texture variation rather than fighting against it.
6. Apply to test tiles with intention. For lava glazes, I want a thick application — so one side of each tile gets slightly more glaze than the other. That way one firing gives me two data points: how the glaze behaves thin, and how it behaves thick. Glaze thickness is one of the most underrated variables in ceramics.
What I Skip for Lava and Special Effect Glazes
For this kind of testing, I skip sieving, skip the immersion blender, and don't measure specific gravity. For functional glazes that need to be consistent and food-safe, I'd approach it differently. But for glaze testing and texture work — lava glaze, crawl glaze, crater glaze — keeping it simple is the right call. The small variations in particle distribution and water content contribute to the ceramic surface texture, not fight against it.
Want to Go Deeper Into Glaze Chemistry and Recipes?
If mixing glazes from scratch feels like the direction you want to go, here's where I'd point you next.
Textures in Ceramics is my comprehensive 8-week online ceramics course covering everything from wild materials and combustibles through to glaze chemistry for artists — how to read a ceramic glaze recipe, calculate a batch, adjust variables, and understand why glazes do what they do. Enrollment opens late August. → Join the waitlist
The Glaze is Lava is the deep dive specifically into silicon carbide glazes — lava glaze, crawl glaze, crater glaze, and special effect ceramic surfaces. It covers over 1,000 test tiles from workshops around the world, with explanations of every variable and what to do when things don't go as planned. → loramceramics.com/the-glaze-is-lava
Patreon is where I share the actual glaze recipes — 20 to 40 glazes every month, including cone 6 glaze recipes, firing schedules, and notes from workshops in Bali, Lisbon, Lebanon, Mexico, and my own studio. $15/month, with a back library of hundreds of recipes already waiting. → patreon.com/c/MariaLoram
You can watch the whole video in real time, including the labelling, the dry mixing, and me applying glaze to test tiles at the end.
About the Author
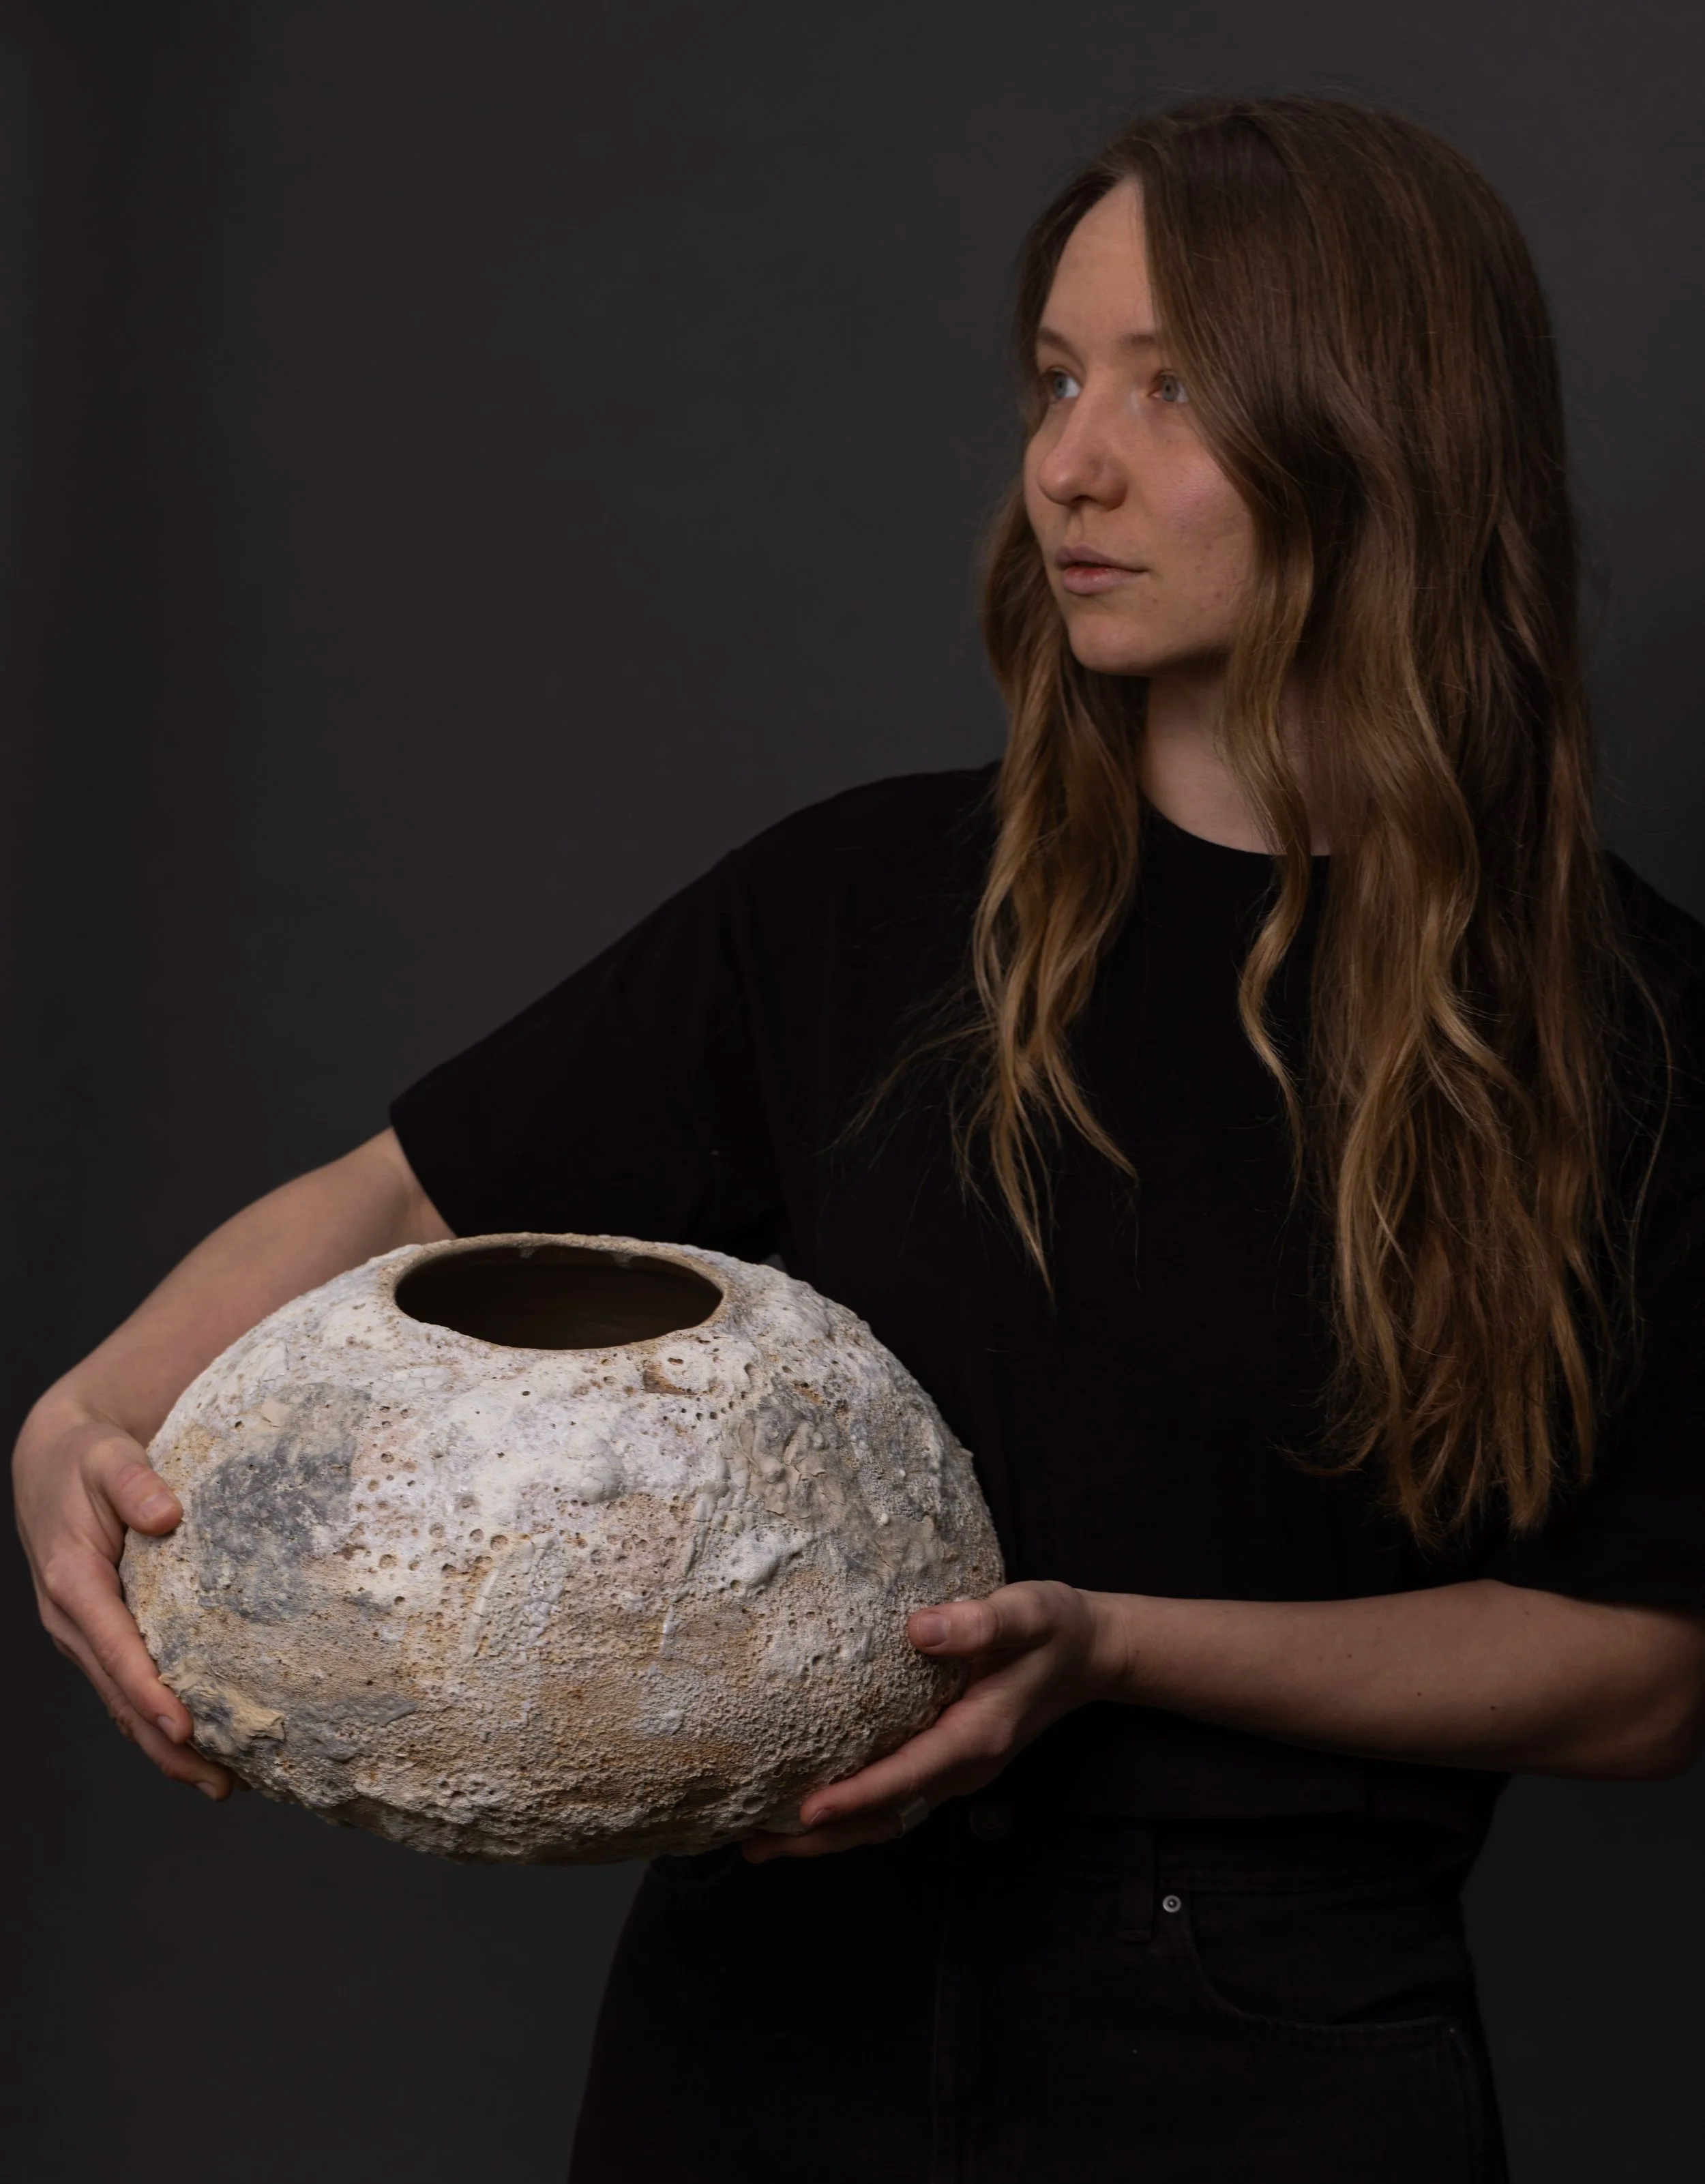
Hi, I’m Maria — a ceramic artist based in the US. I make sculptural lighting and hand-built vessels, and I share my studio process online.
I teach ceramics internationally and online. → loramceramics.com
This checklist is part of a growing library of free guides for ceramic artists and makers.