What You Need to Set Up a Ceramics Studio at Home (The Real Minimum)
If you're hand-building and using someone else's kiln, you can realistically start for well under $100. If you add a secondhand wheel and a small kiln of your own, you're looking at roughly $200–$400 all in. The expensive version of this — a $2,000 wheel and a $6,000 kiln — is real, but it's for later. Start small, figure out what you actually love making, and let the studio grow with your practice.
Want a handy checklist of everything in one place? I put together a free Home Studio Setup Checklist — it covers all three essentials with estimated costs and a quick breakdown of firing plan options. Grab it at the link below.
Download Free PDF
Download Free PDF Checklist ↓
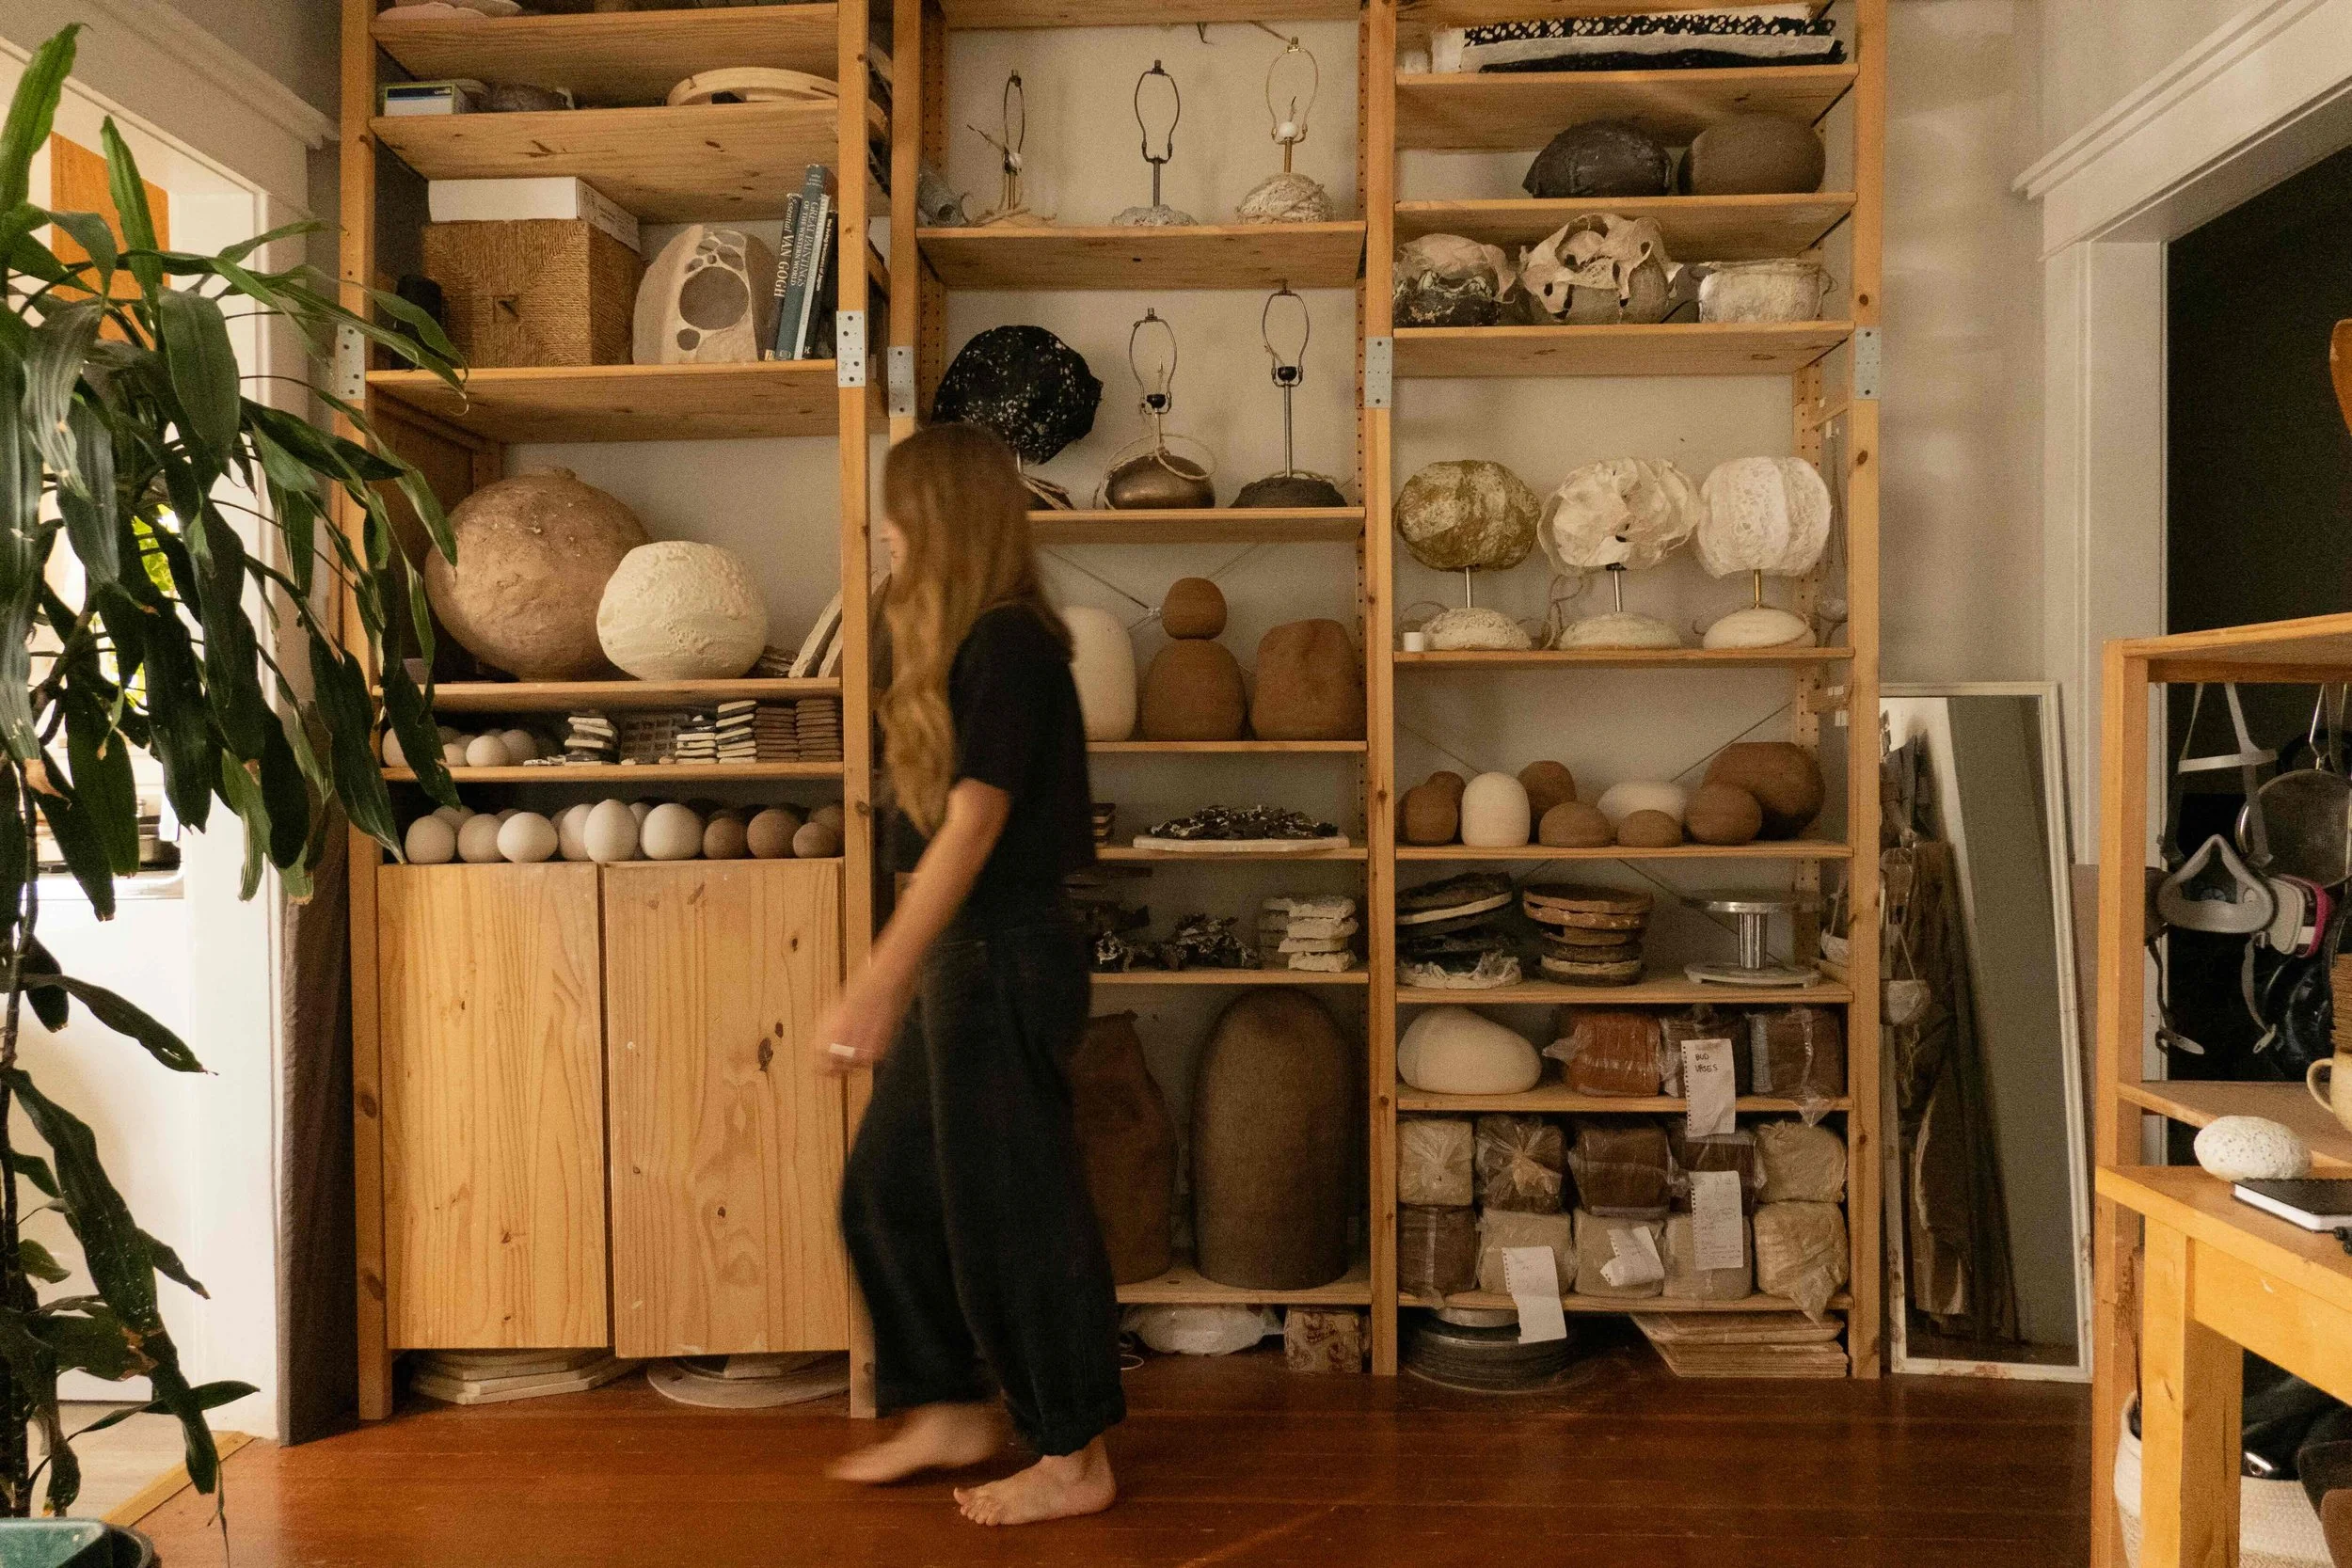
Maria Loram in her home studio. Credits: Agathus Studios
Every list I've ever seen for "setting up a ceramics studio" is either exhaustingly long or quietly assumes you already have access to a kiln. When I was starting out, I found this deeply unhelpful — I was trying to figure out whether ceramics was even going to be worth pursuing, and every resource seemed to want me to spend several thousand dollars before finding out.
It doesn't have to be that way. When I set up my first home studio, I spent around $200. Later, I upgraded to a proper full studio with a good kiln and wheel for free. (I talk about how in my studio tour video, if you're curious.)
Here's what I actually think you need to get started — and what you can safely ignore for now.
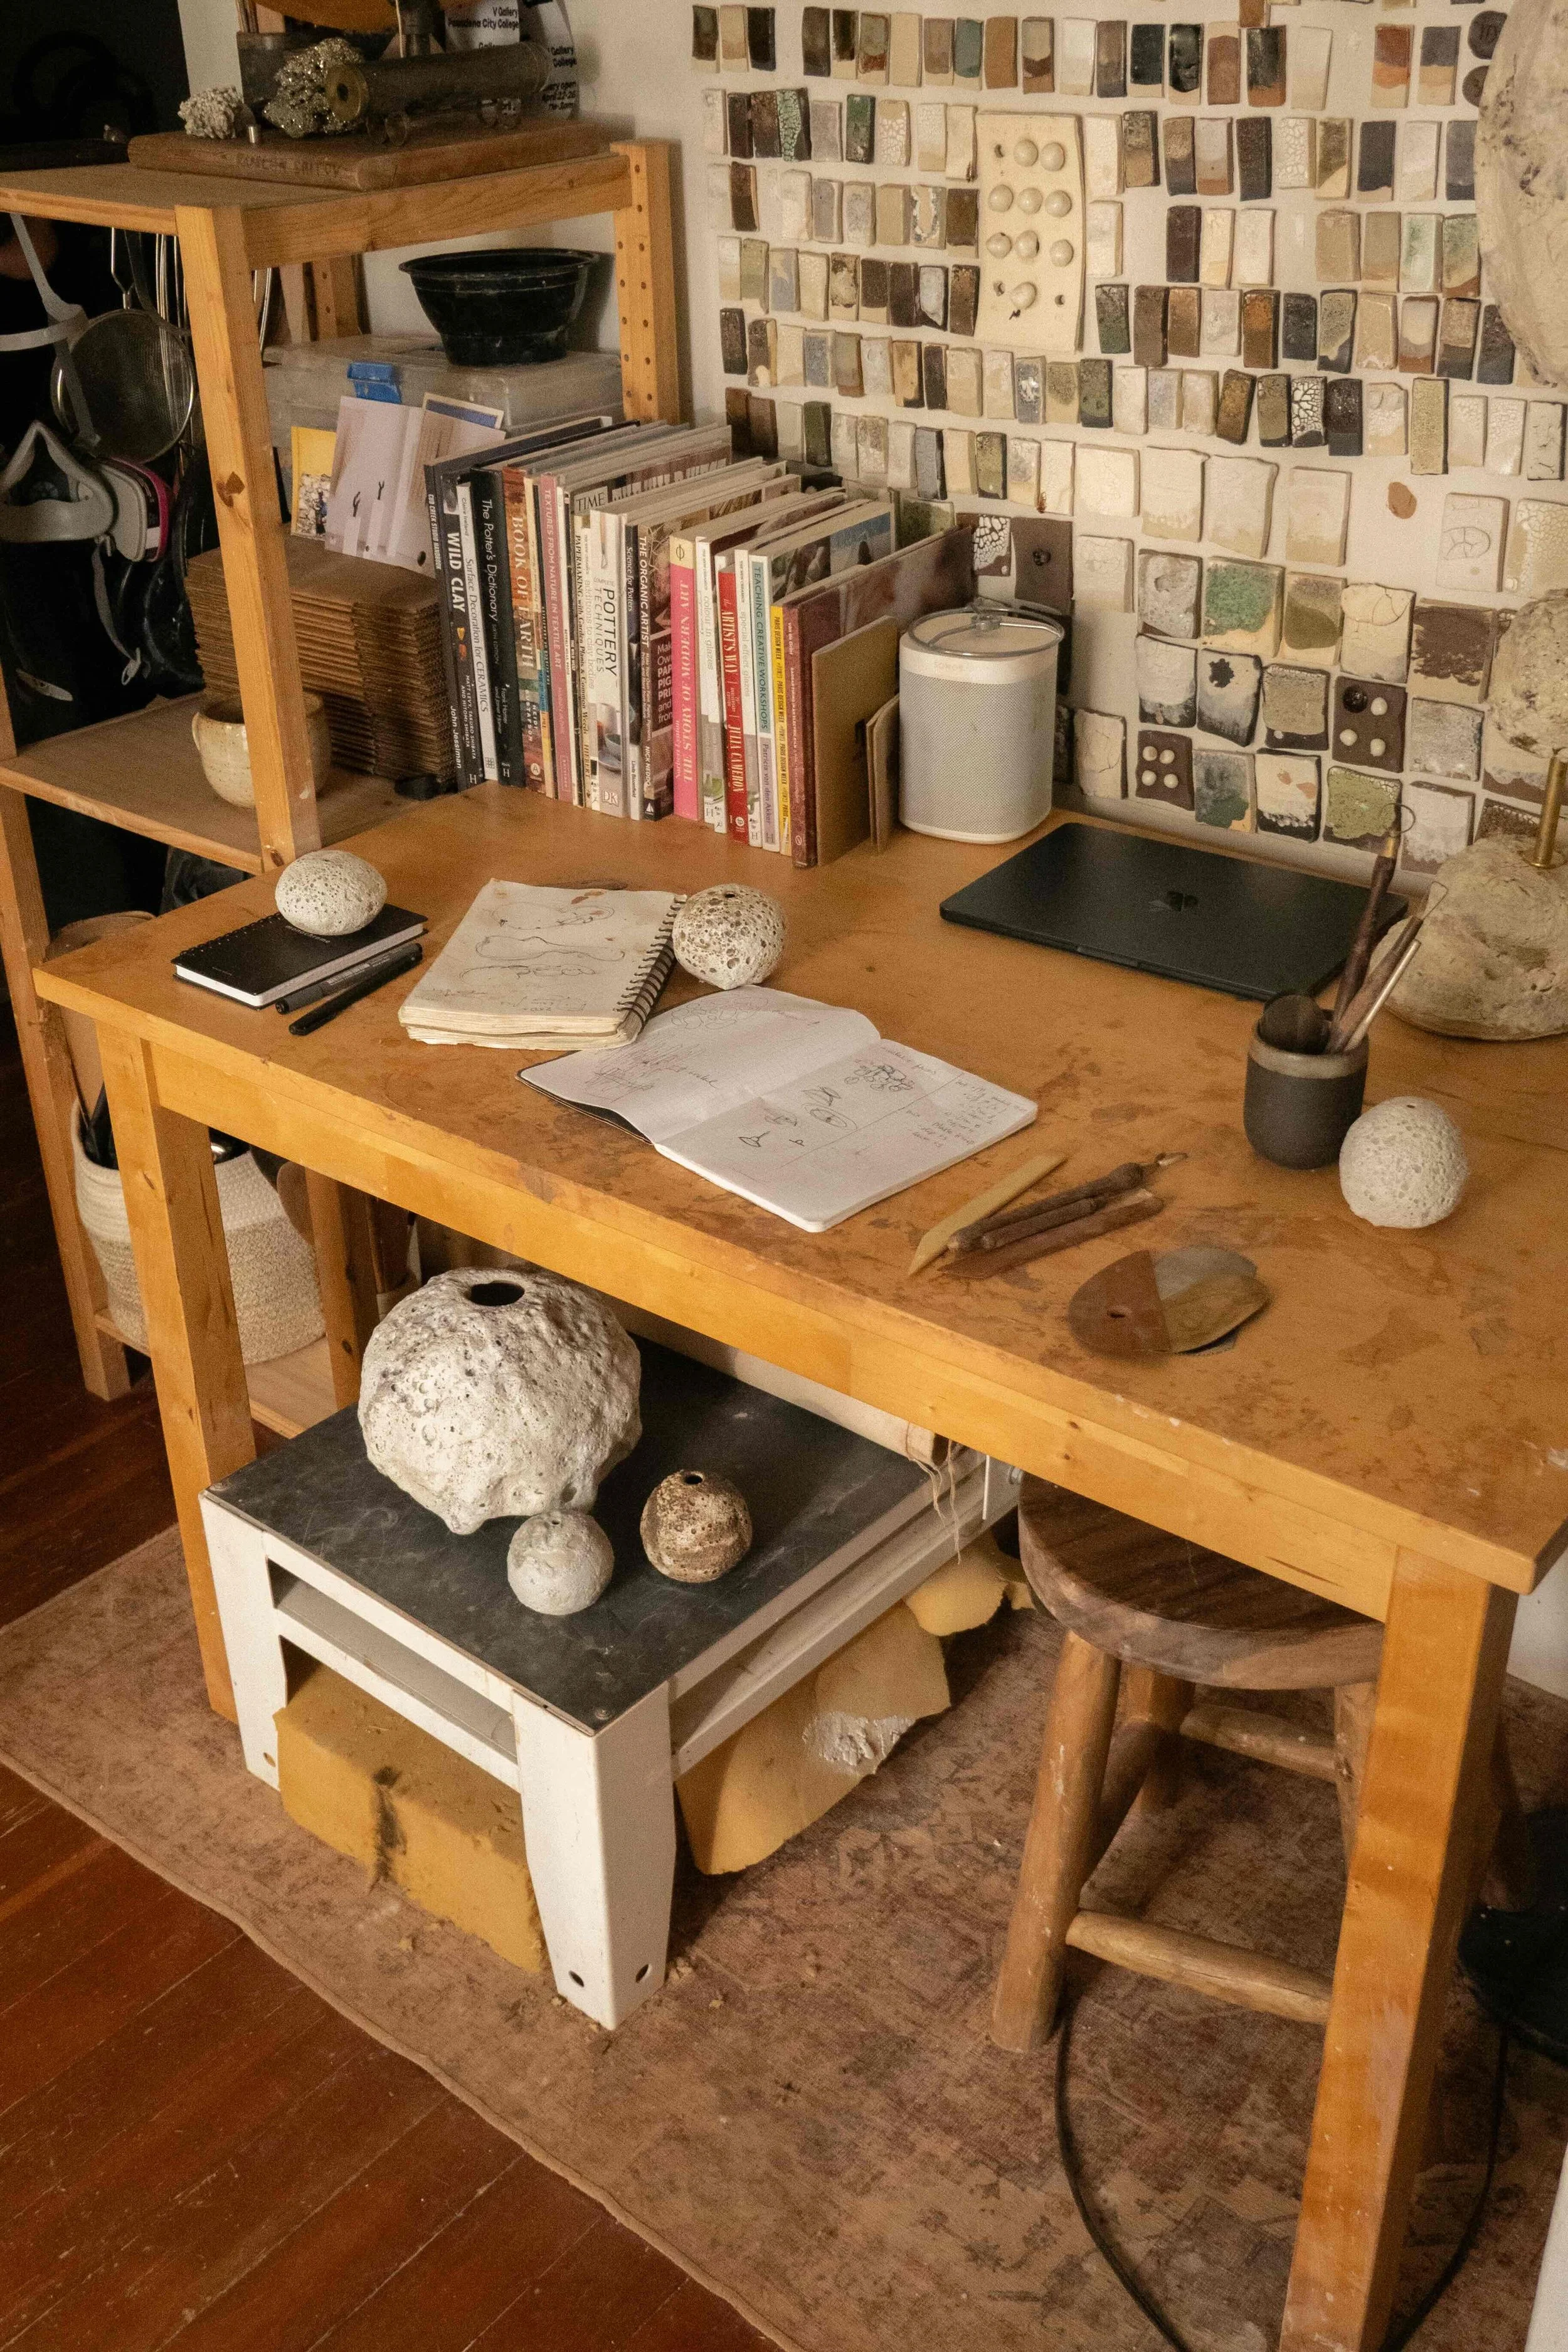
Maria Loram’s Studio. Credits: Agathus Studios
The Three Things You Actually Need
Everything else is a nice-to-have. Before you buy anything, make sure you've sorted out these three:
A work surface. Whether you're throwing on a wheel or building by hand, you need somewhere to work. For wheel throwing, that means a wheel (and a stool) — you can find decent beginner wheels on Facebook Marketplace for $50–100, which is genuinely enough to learn on up to a reasonable weight of clay. For hand building, all you really need is a flat board — I started with a piece of cut plywood that cost almost nothing, and it worked fine. A canvas-covered board for wedging is a nice upgrade when you're ready, but it's not essential on day one.
A drying area. Somewhere your pieces can sit and dry slowly and evenly. This is almost always free — a couple of empty shelves, a corner of a table, a surface you're not using. In many climates you won't even need to cover the work. The only thing that matters is that it's somewhere stable where things won't be knocked, and where air can circulate.
A firing plan. This is the one that stops most people, and it's worth thinking through before you make anything. Your options range from buying your own kiln (a small 110-volt kiln can be had for around $100 secondhand, and a proper 220-volt one for $300 or so) to using a community studio's kiln, a pay-per-piece firing service, a community college ceramics class, or a friend who fires. I cover all of these in detail in the full video, including the most important rule — making sure your clay body and glazes match the firing temperature (cone range) of whoever's kiln you're using.
Tools
A beginner tool kit from Amazon costs about $20 and is genuinely enough to start. Wheel throwing tends to demand a few more tools than hand building, but the same starter set covers both. One thing worth adding if you're building by hand: a banding wheel makes it much easier to work on vases and taller forms. You don't strictly need one, but a secondhand one for $20–30 is a good early addition.
The Nice-to-Haves
Once you've got the three essentials sorted, the next things worth thinking about are: a couple of buckets or containers (useful for cleanup, reclaiming clay, and about a hundred other things you'll discover), your first bag of clay, and some basic safety supplies — a sponge, some towels, an apron, and a dust mask. The safety gear is genuinely worth prioritizing: clay dust should always be cleaned wet, not brushed dry, especially if you're working at home. It's a small habit that matters.
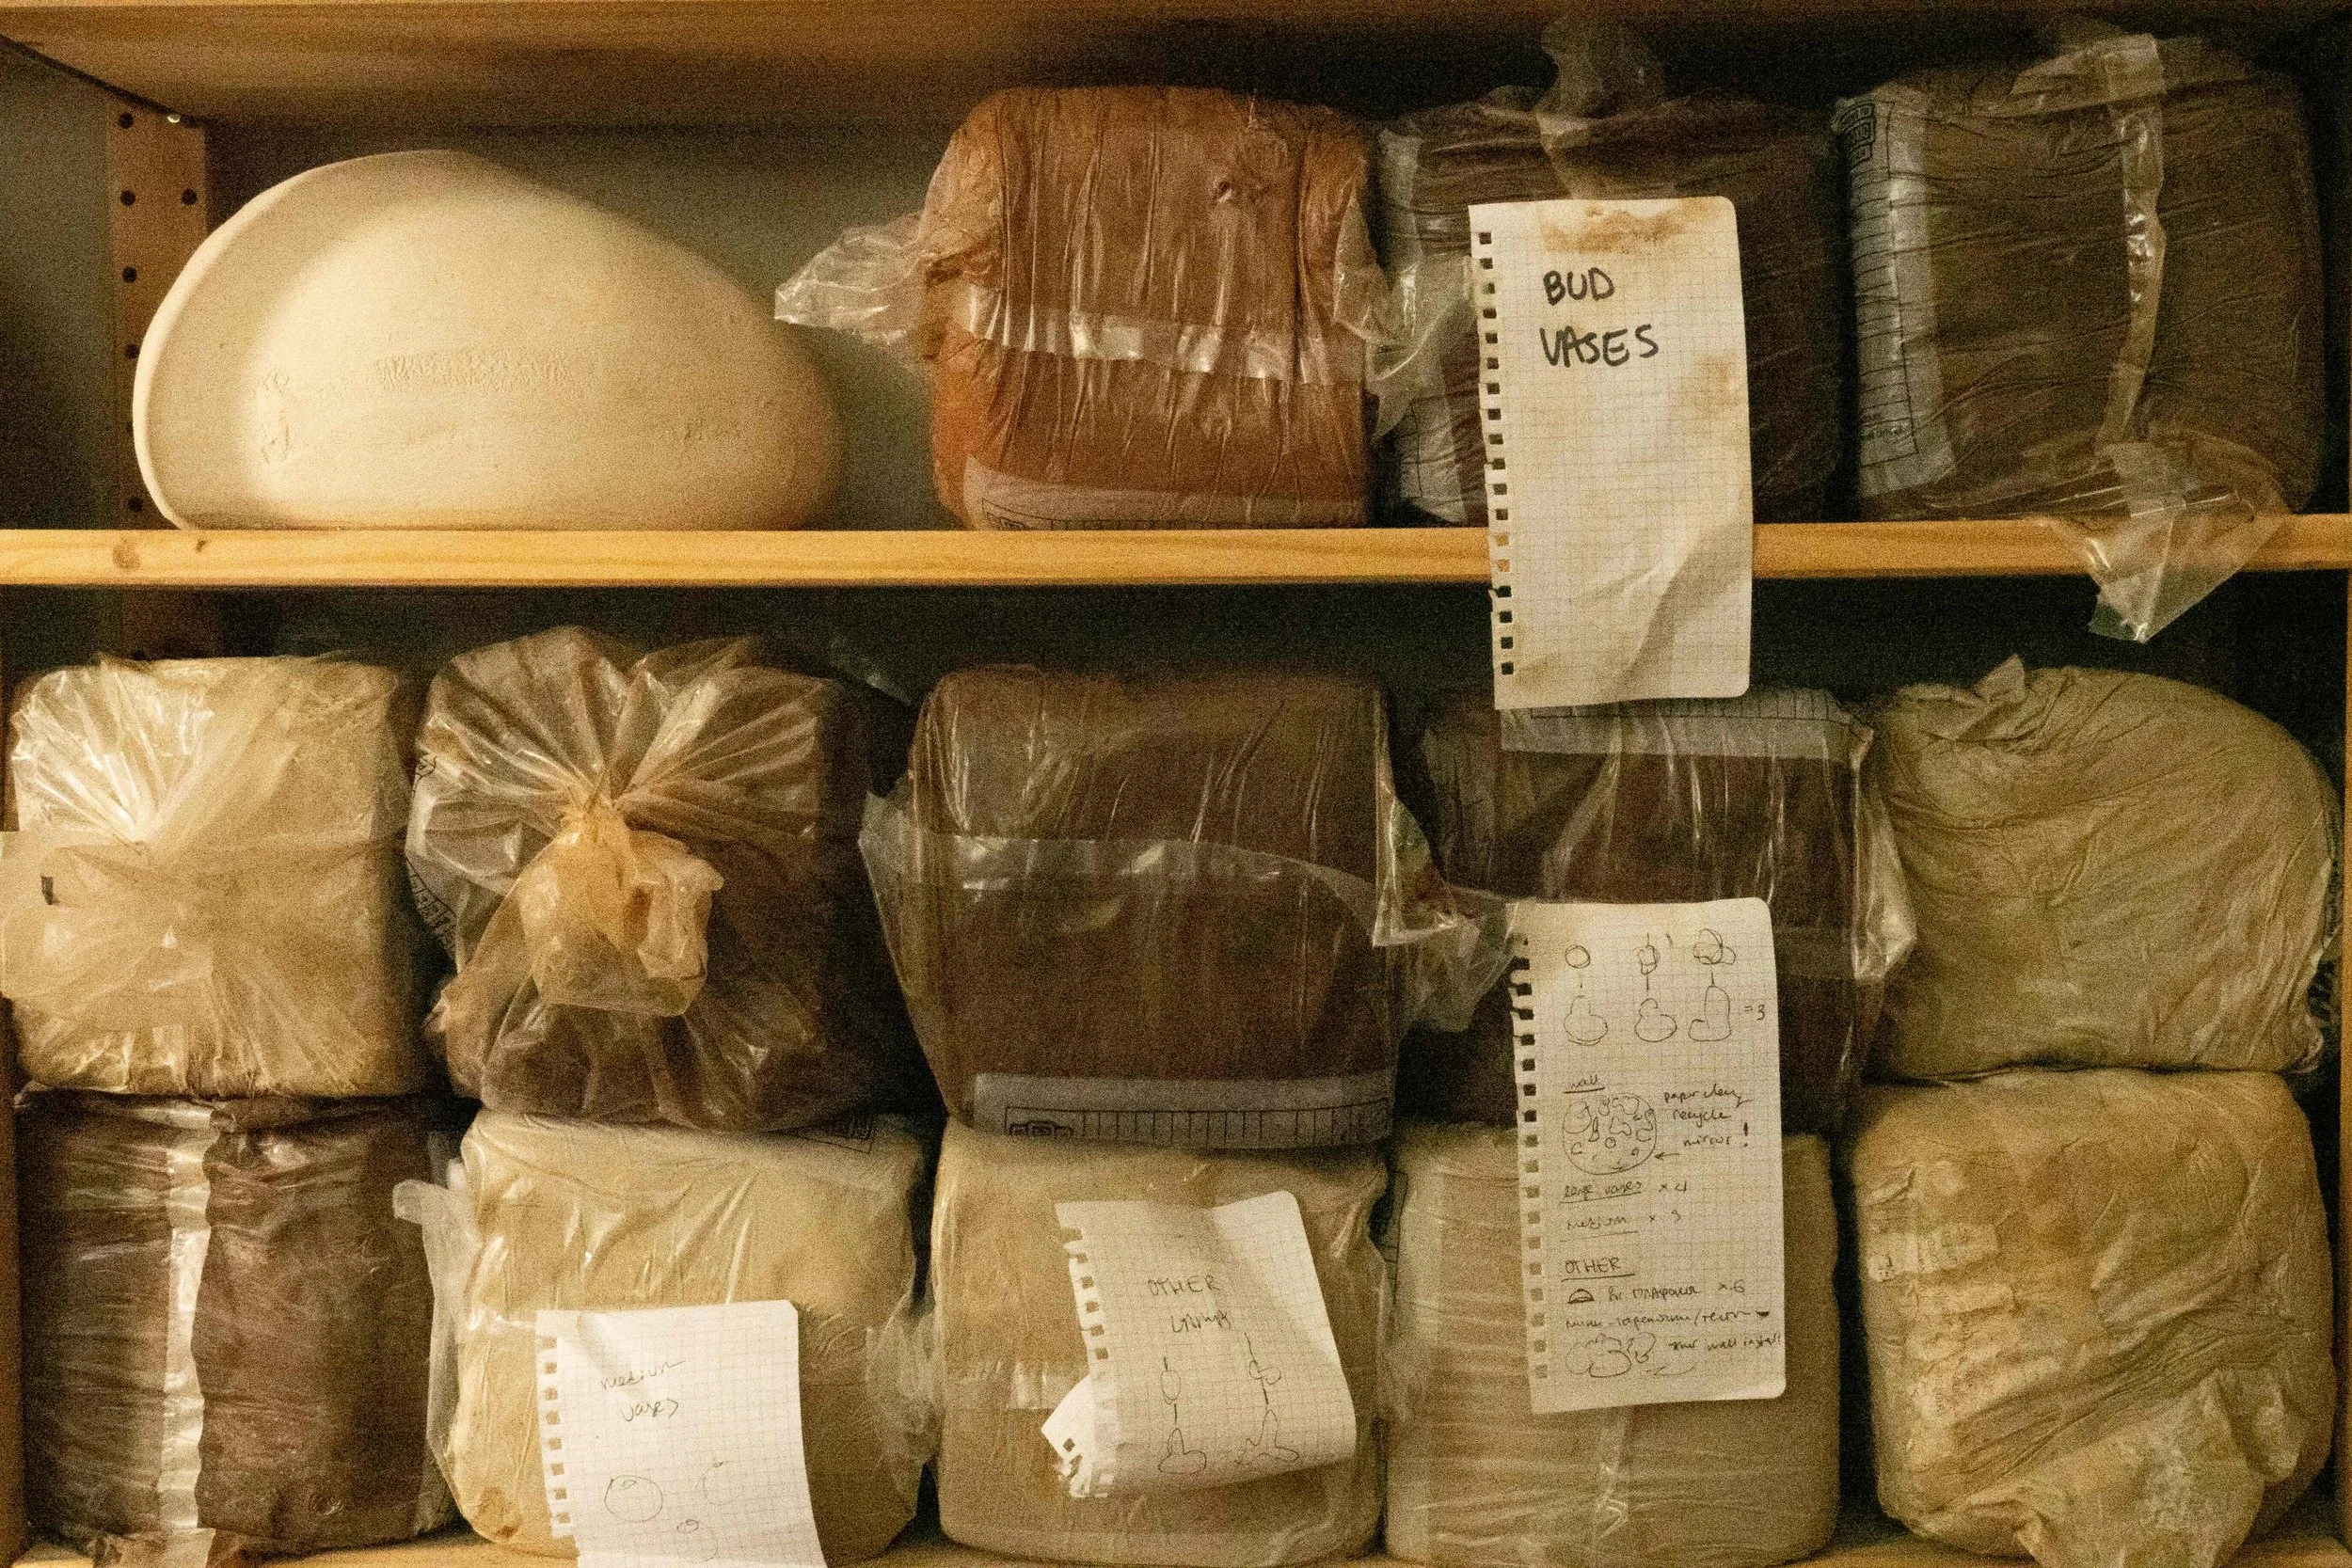
Clay in the studio. Credits: Agathus Studios
Thinking About Building Your Ceramics Business?
This is the kind of breakdown I wish someone had shown me when I was starting out. If you're a ceramic artist working on the business side — pricing, fairs, expenses, building a sustainable studio practice — I'm planning to offer 1-1 mentorship sessions in the future. Drop me an email at maria@loramceramics.com and I'll let you know when spots open.
In the meantime, if you want to develop your technical ceramic skills alongside the business side, I teach two online courses: Textures in Ceramics covers surface decoration from natural materials to lava glaze, and The Glaze is Lava goes deep on volcanic and crater glaze effects.
Go Deeper
If you want to build the technical foundation — teaching, licensing, digital products, knowledge-sharing — that's exactly what I cover inside my courses:
Textures in Ceramics — an 8-week course building a real vocabulary of ceramic surface technique, from natural materials through glaze chemistry.
The Glaze is Lava — my deep dive into lava glazes, crater glazes, and special effect surfaces.
And if you want the ongoing material — recipes, test results, behind-the-scenes from my own business — that's what my Patreon is for.
About the Author
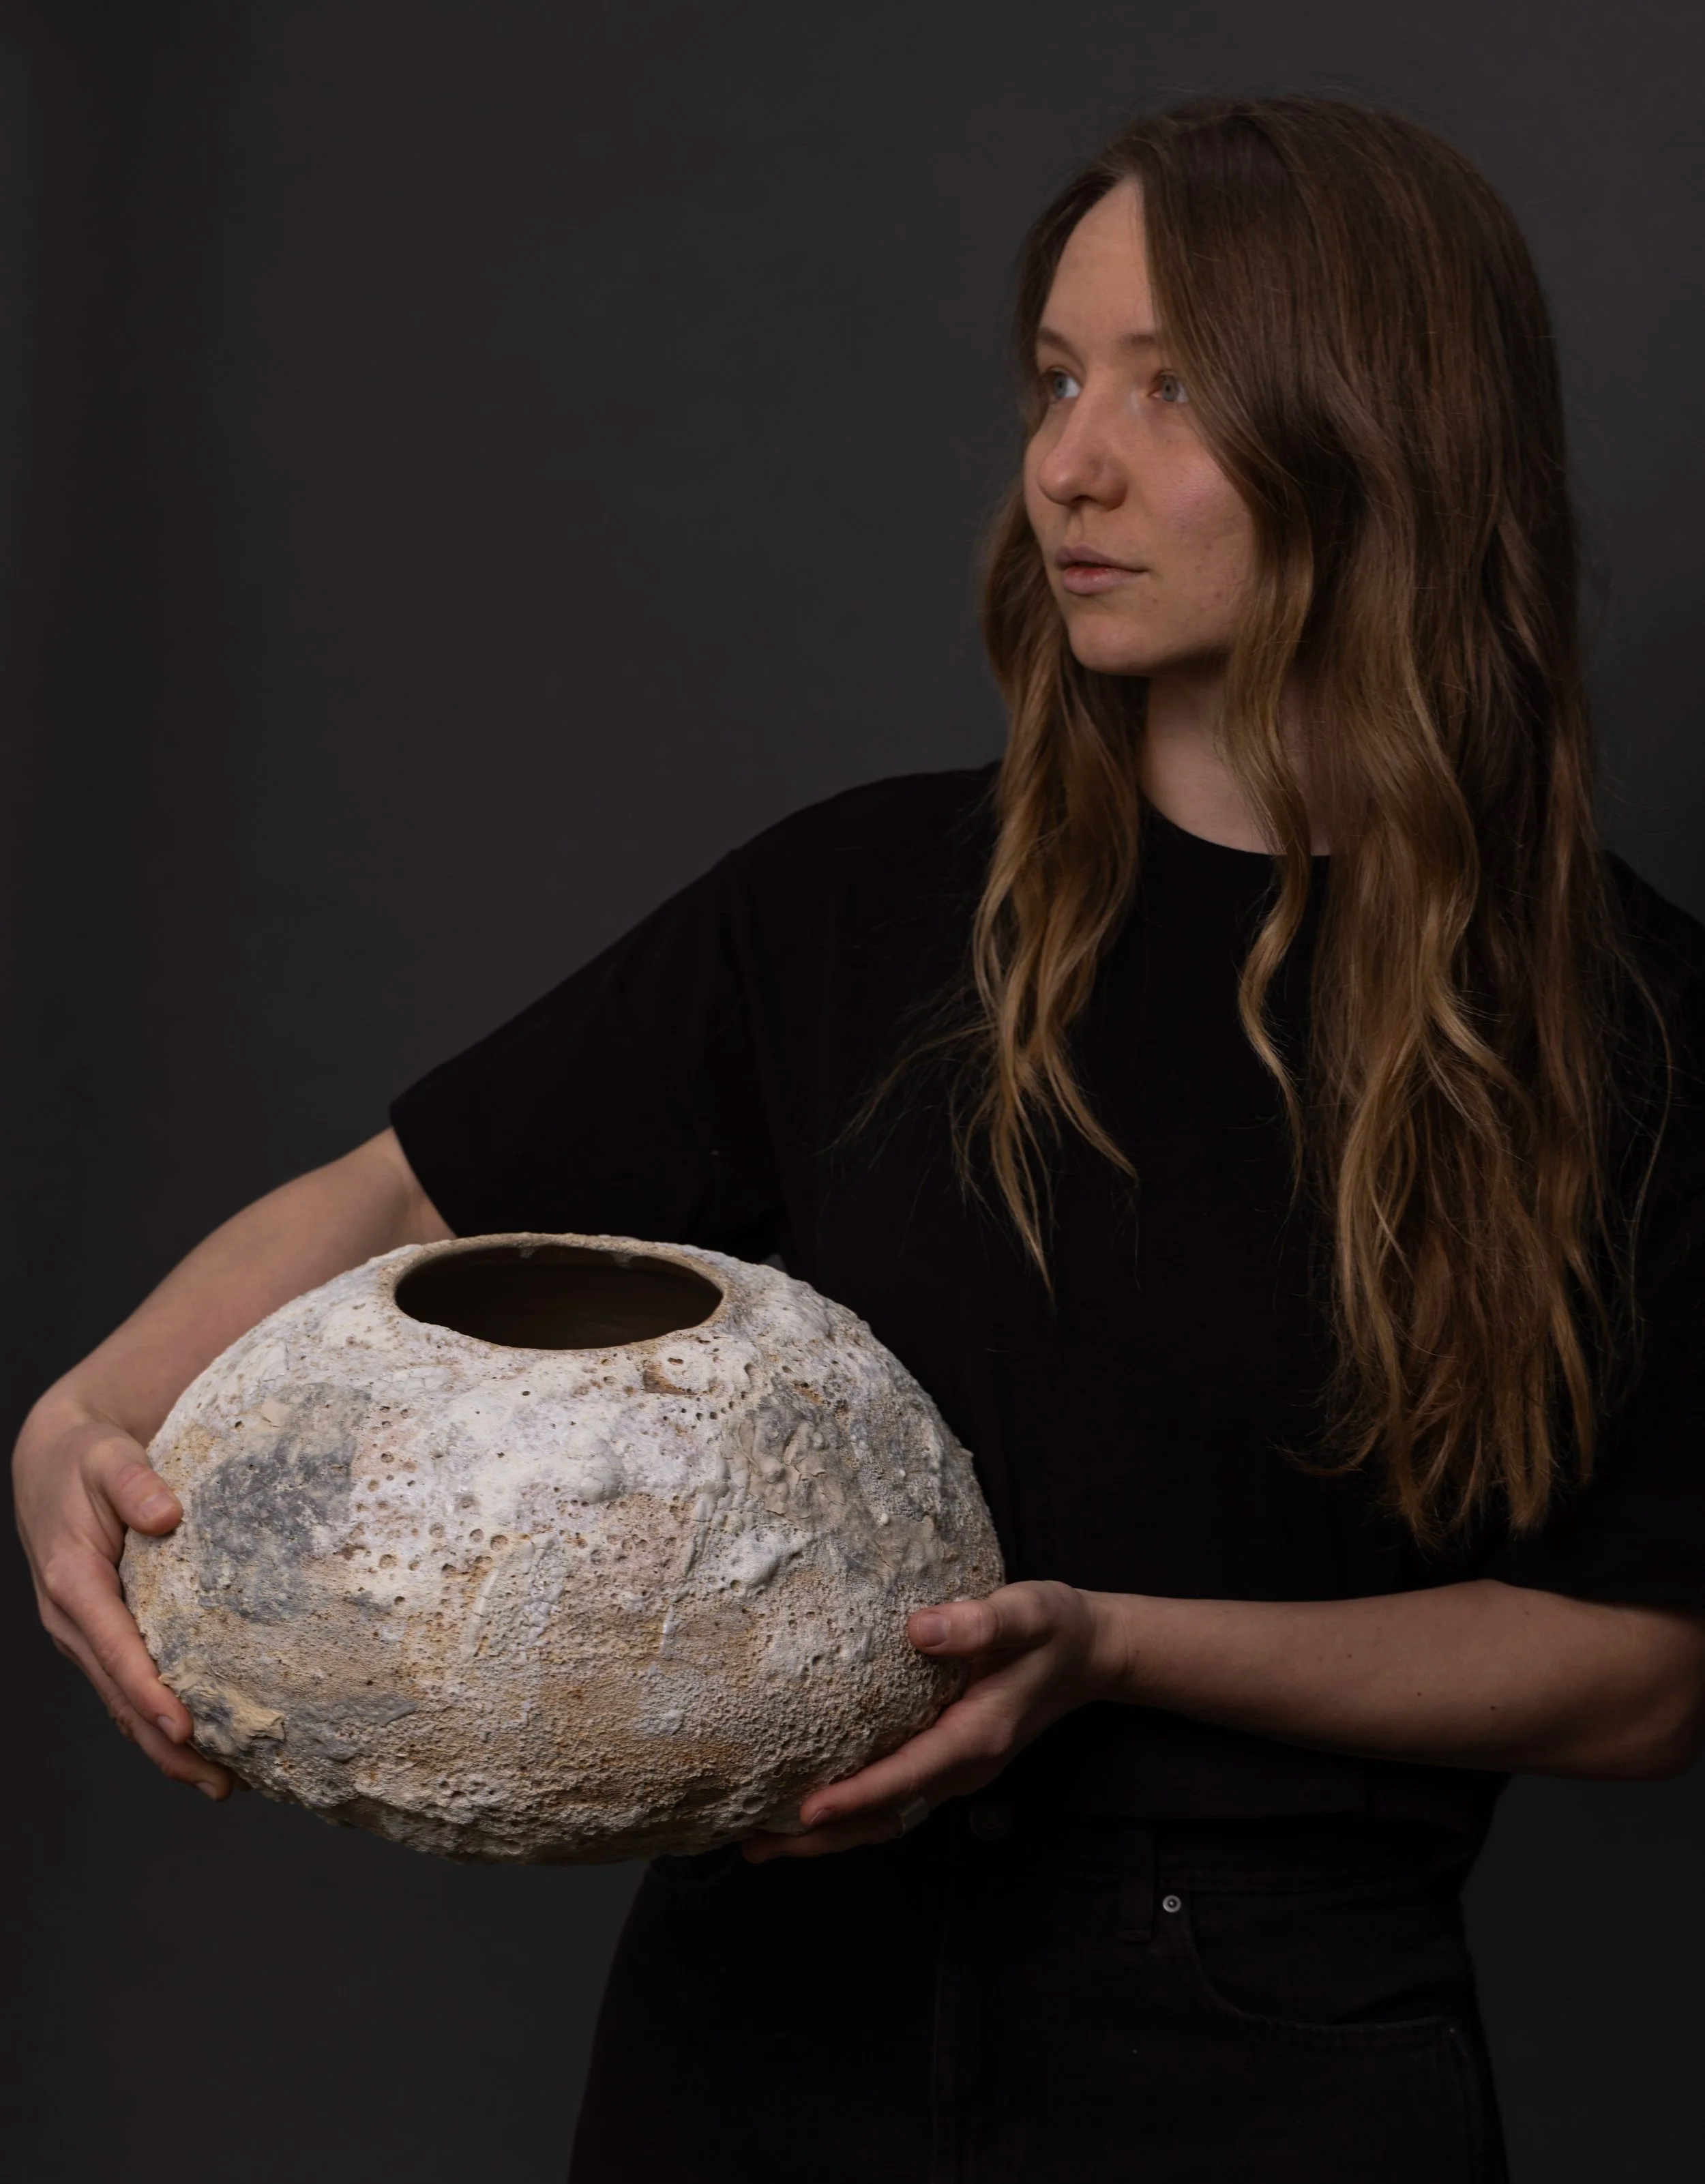
Hi, I’m Maria — a ceramic artist based in the US. I make sculptural lighting and hand-built vessels, and I share my studio process online.
I teach ceramics internationally and online. → loramceramics.com
This checklist is part of a growing library of free guides for ceramic artists and makers.